Installing a new roof is one of the most significant financial commitments a homeowner can make.
Once the noise stops and the crew drives away, you might think the project is completely finished.
However, performing a final inspection is a crucial step to ensure your investment is protected and the job was completed to the highest standard.
While a reputable company like Saratoga Roofing prides itself on getting the job done right the first time, knowing what to spot can give you total peace of mind.
Whether you have just completed a full roof replacement or a smaller renovation, taking a few minutes to review the work can save you from headaches down the road.
This guide outlines exactly what you should check to ensure your home is secure.
NOTE: Do not climb on the roof yourself; perform visual inspections from the ground or use binoculars for safety.
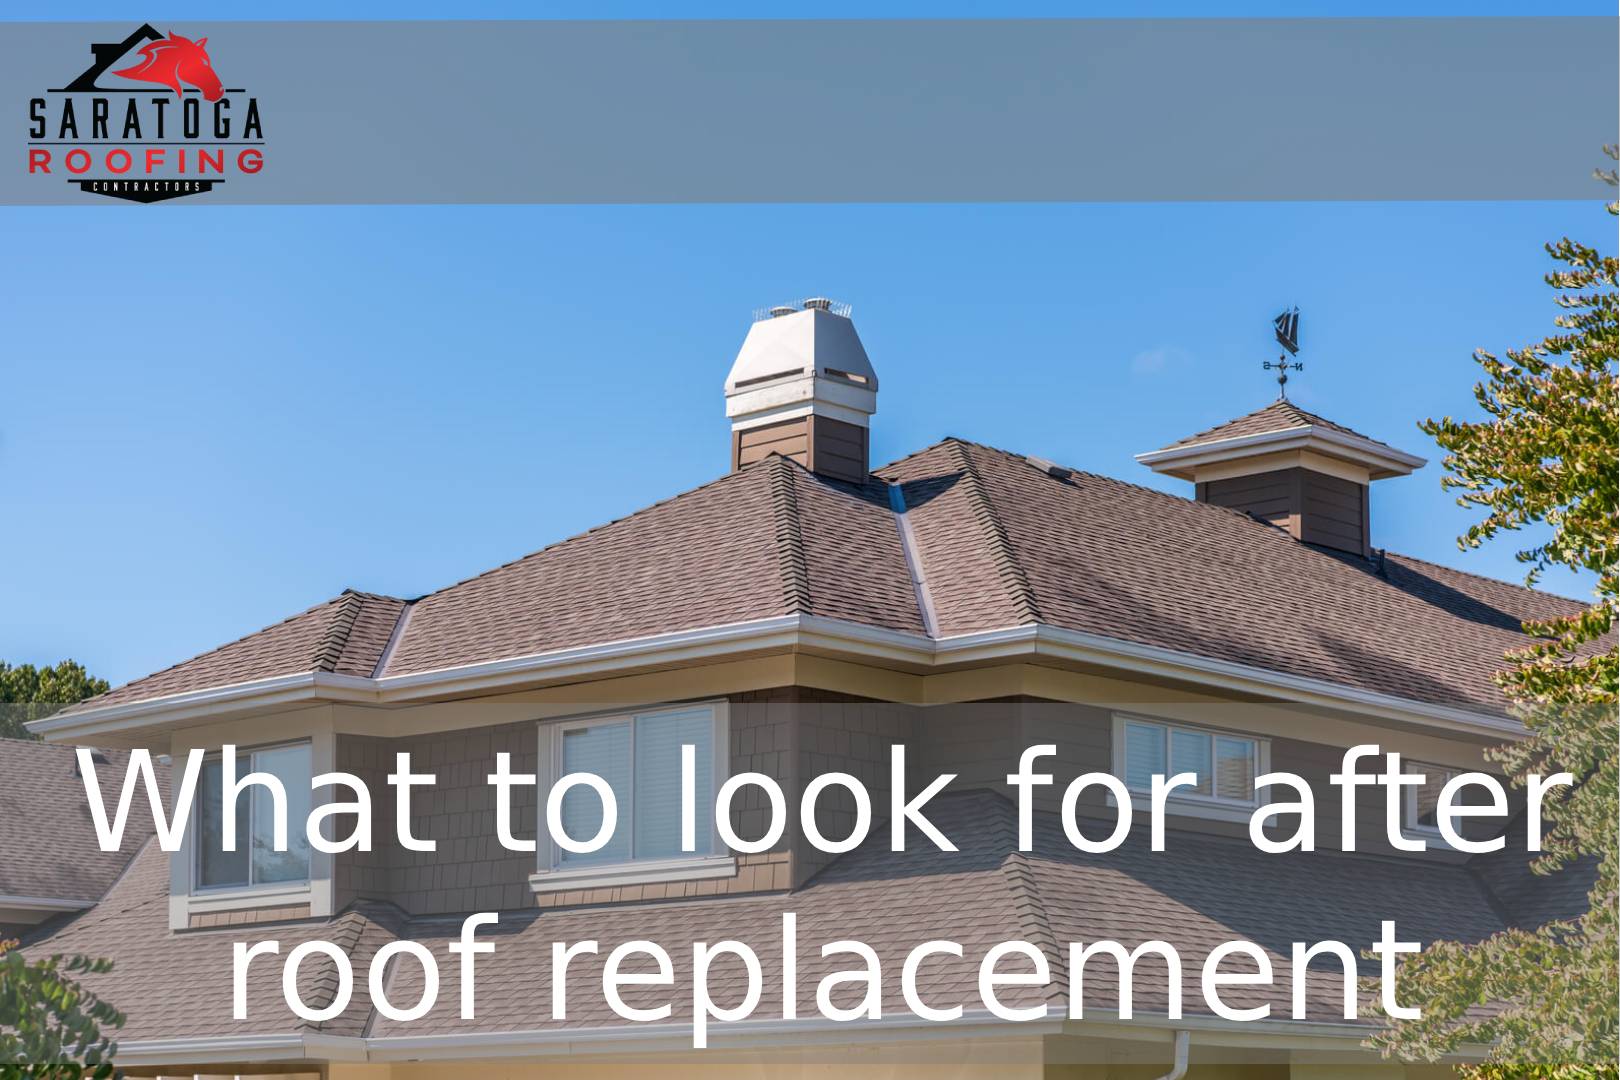
Ensure that the roof is properly installed with no visible damage, all shingles are secure, flashing and seals are intact, and the cleanup is thorough.
1. Inspect for Uniformity and Appearance
The first thing to look for is the overall aesthetic of the roof. Walk around the perimeter of your home and look up.
The shingles should appear uniform in color and alignment. Check that the shingle lines are straight horizontally and vertically.
If the roof looks wavy or uneven, it could indicate that the roofing instalation was not performed correctly or that the decking underneath is uneven.
You should also look for any damaged or scratched shingles. While minor scuffs can happen during installation, significant damage needs to be addressed immediately to prevent future failure.
2. Check the Flashing and Drip Edge
Flashing is the metal material installed to direct water away from critical areas of the roof, such as chimneys, vents, and valleys.
Inspect the flashing to ensure it lies flat against the roof and is sealed tightly. If you see gaps or loose metal, this is a red flag.
Additionally, examine the drip edge, which is the metal strip along the edge of the roof that guides water into the gutters.
It should extend slightly over the gutter to prevent water from running down the fascia boards.
If you notice issues near the roofline or damaged exterior walls, you may need to consult a siding contractor to ensure the installation didn’t negatively impact your home’s exterior cladding.
NOTE: Poorly installed flashing is one of the most common causes of roof leaks.
3. Assess the Gutter System and Cleanup
A professional roofing job includes a thorough cleanup. Check your gutters to ensure they are free of granules, nails, and leftover shingle scraps.
Clogged gutters can lead to water backing up under the new shingles, causing rot.
Look at the ground surrounding your home as well. Scan your driveway and lawn for nails or sharp debris.
A quality contractor will use heavy-duty magnets to sweep the area, protecting your car tires and family from injury.
4. Evaluate Skylights and Ventilation
If your home features skylights, they require special attention during a roof replacement.
Check the seals around the glass to ensure there is no debris trapped and that the flashing is secure. If the unit looks old or damaged, you might have missed an opportunity for a new skylight installation.
However, if the new shingles are abutting an old unit, keep an eye out for moisture inside the glass.
If you notice condensation or drafts, you may need skylight repair saratoga residents trust to fix the seal.
Furthermore, check that all roof vents are unobstructed and painted to match (if applicable), as proper ventilation is vital for the longevity of your shingles.
5. The Interior Attic Inspection
Finally, head inside to your attic. Turn off the lights and look for any pinholes of daylight coming through the roof deck.
While some venting systems allow light, seeing light through the flat parts of the roof is a sign of trouble.
Look for any new water stains on the wood decking. If you spot moisture shortly after the first rain, call your contractor immediately for a roof repair.
Catching these issues early prevents mold growth and insulation damage.
NOTE: An attic inspection is best done during the day to easily spot light leaks.
Final Thoughts on Your New Roof
Your roof is the first line of defense against the elements. By following this checklist, you can rest assured that your home is safe.
If you spot anything concerning, reach out to your contractor right away.
For homeowners in New York seeking reliability and transparency, Saratoga Roofing remains a top choice for ensuring your project meets these rigorous standards.
Frequently Asked Questions
Is it normal for granules to fall off a new roof?
Yes, some granule loss is normal immediately after installation. These are usually excess granules from the manufacturing process.
However, if the loss continues for a long time or you see bald spots on shingles, contact your roofer.
What should I do if I see a loose shingle?
Contact the installation company immediately. Do not attempt to fix it yourself, as this can void your warranty.
How long should a roof replacement take?
Most residential roof replacements take 1 to 3 days, depending on the size of the home and weather conditions.
Should I receive a warranty after the installation?
Yes, you should receive both a manufacturer’s warranty for materials and a workmanship warranty from the contractor.
Why do my new shingles look wavy?
Shingles may look slightly wavy or lumpy right after installation, especially in cold weather.